Showing posts with label TGIF Challenge. Show all posts
This week's Use Your Scraps project was inspired by the latest TGIF Challenges theme, "Popping It Up." 

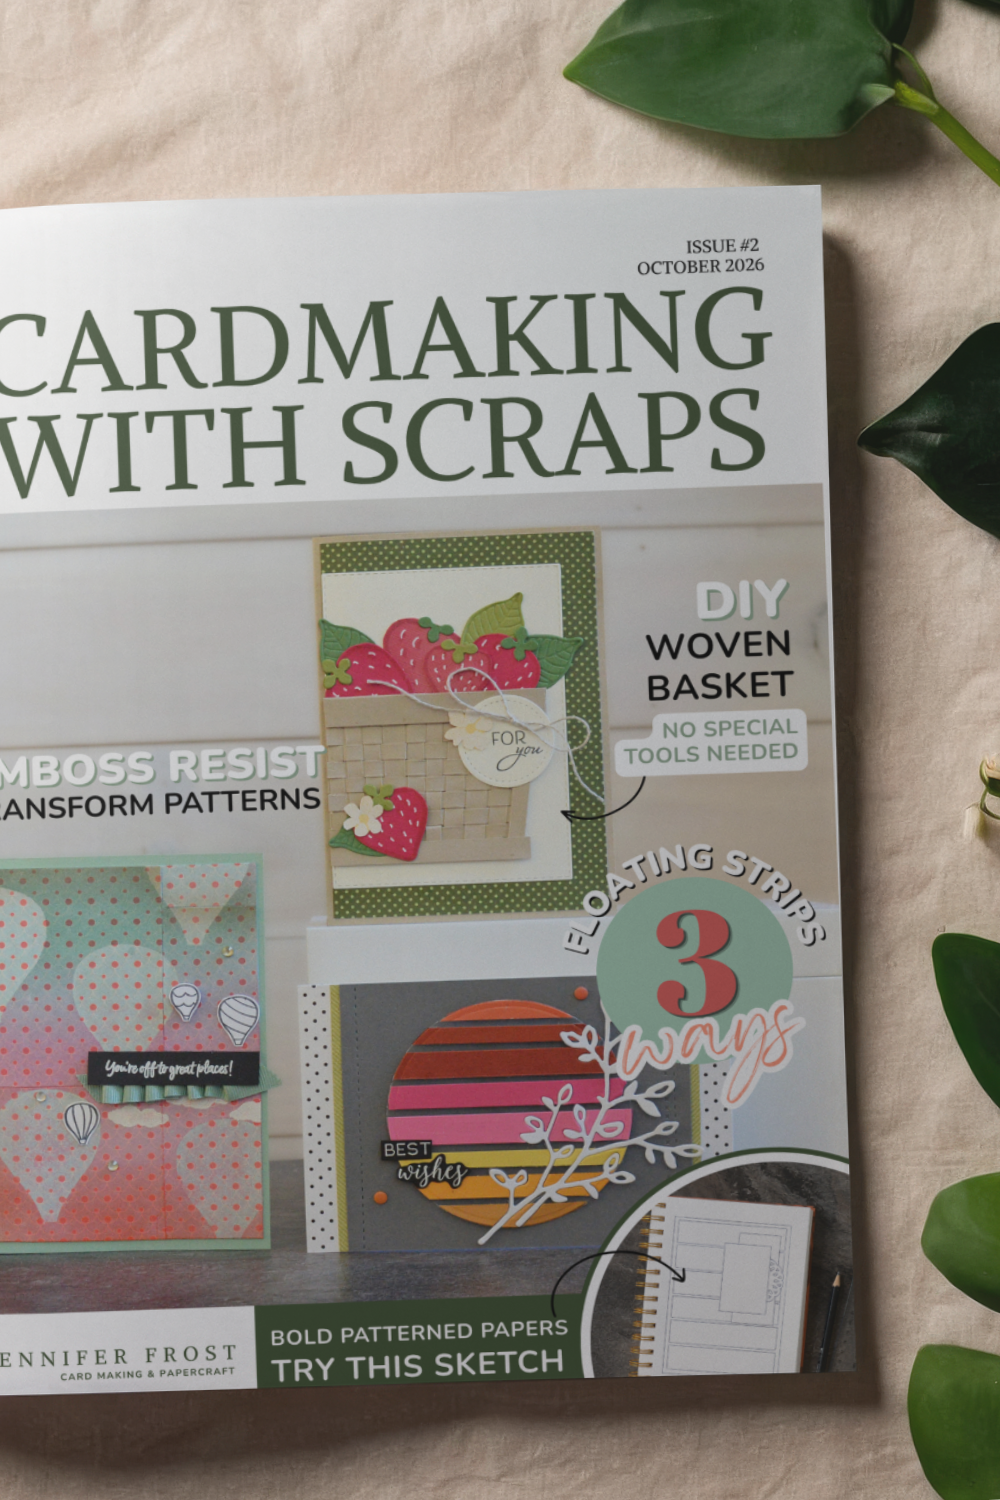
When I saw the challenge, I immediately thought of the Floating Strips Technique that I'd been wanting to try. It seemed like the perfect opportunity to use up all those narrow cardstock strips that seem to accumulate on my craft desk.

For my first card, I followed the traditional technique after watching a few tutorials online. I paired the floating strips with this month's Stampin' Up! colour challenge colours and added an inlaid die-cut spray of leaves through the centre of the floating circle. 

I absolutely love the finished result—the floating strips create such a striking effect—but I quickly discovered that the inlaid die-cutting made the project quite fiddly.

That got me thinking… could I simplify the design while still keeping the beautiful floating effect?

For my second card, I swapped the intricate inlaid design for a stamped lighthouse image layered over the floating strips. The finished card has a completely different feel, creating a simple masculine design that really shows how versatile this technique can be. 

Thank you Atlantic Hearts Sketch for inspiration in bringing this one together!

By this point I had plenty of leftover strips sitting on my desk, and another question popped into my mind. Most Floating Strips Technique tutorials use window sheet (acetate) to hold the strips together. 

But what if you don't have any? Could the technique still work?

So I decided to experiment.

Inspired by this week's Simon Says Stamps 'Stars and/or Stripes' challenge, I reached for a large star-shaped die, and arranged my leftover strips in rainbow order, securing them temporarily with washi tape before running them through my die-cutting machine. I also created a simple cardstock template using the same die so I could place each strip back into position after die-cutting. 

To my delight, it worked! While it isn't exactly the same as using window sheet, it creates a very similar effect using supplies most cardmakers already have.

I finished the design using the current Global Design Project Sketch challenge as inspiration. 

One of my favourite things about crafting is following an idea to see where it leads. What began as simply trying a new technique quickly turned into three different cards, each exploring a slightly different approach. Along the way, I not only discovered a beautiful design but also found a simpler version and a way to create the look without acetate. That's exactly why I love experimenting—it often leads to ideas I'd never have discovered if I'd stopped after the first card.

Watch the Video

If you'd like to see exactly how these cards came together, along with all the tips and tricks I discovered along the way, be sure to watch this week's video. I'd also love to know which of the three versions is your favourite!

If you've been wanting to try the Floating Strips Technique, I hope these three variations inspire you to give it a go—whether you follow the traditional method or experiment with your own twist.


Cardmaking with Scraps

If you enjoy this kind of scrap-based cardmaking, I’ve also put together a Cardmaking with Scraps printable guide.

It includes 8 scrap-friendly card projects with measurements, photos and step-by-step “recipes” you can keep beside your desk for inspiration when you’re working through your stash.

👉 Learn more HERE

Happy crafting,

Jenn

Floating Strips Technique 3 Ways

July 1, 2026


Have you ever had a piece of patterned paper that you really wanted to love, but every time you tried to use it, it just felt a little too bold or overpowering?

That was exactly how I felt about this black and white bee paper sitting in my stash. After loving how the ink blending softened the paper on my previous card, I wanted to experiment with it a little more.

Black & White Paper Paper Transformation

I started blending a mix of yellow tones, deepening the colour around the edges to create a soft glowing effect through the middle of the background.

I also added a subtle bokeh-style effect using sponge daubers and the same ink colours. You see the full step-by-step transformation here:

Freshly Made Sketches Inspired Design

The current sketch challenge at Freshly Made Sketches features a rectangle focal point in the centre of the card. I paired that idea with inspiration from a recent frame based project I made and created an open stitched rectangle frame. Leaving the centre open allowed the transformed patterned paper to really shine through as the focal point.

Finishing Details for This Thank You Card

The thank you sentiment was inspired by the current TGIF Challenges theme, which is focused on thank you cards this week.

After packing everything away, I kept thinking the card needed a little extra contrast. So, inspired by the little blue wings of the bee, I pulled out a soft blue scrap and layered that over the floral die cuts instead — a change that ended up making the whole design pop much more.

I’m really happy with how this card came together. It feels soft and layered while still letting that bold patterned paper remain the star of the design.


Ink Blending on Black & White Patterned Paper

May 21, 2026

Today I’m sharing an easy way to transform subtle patterned paper into a bold, cohesive card background. Using a simple heat emboss resist technique and ink blending, you can take mismatched paper pieces and turn them into one beautifully designed sheet.

I started with a subtle cream offcut featuring tiny rust-coloured leaves. After cutting this scrap strip into three sections and arranging them to create a card-front panel, the pattern no longer lined up—and that became the perfect starting point for this transformation.

Heat Emboss Resist Technique

Using a solid leaf stamp from the Cup of Tea set, I stamped repeatedly in Versamark and heat embossed with clear powder. This created a resist effect, protecting parts of the original pattern from the ink blending process that followed.

This technique was inspired by the current Just Add Ink #785 challenge (Stencils & Dies!). While not a traditional stencil, it’s a great way to create a similar effect using stamps.

Autumn Card Idea

I blended warm autumn tones—Bumblebee, Terracotta, and Cajun Craze—building up the colour gradually and leaning into the soft glow that develops as the layers deepen.

Transform Patterned Paper

To bring everything together, I used a little tip I originally learned from Jennifer McGuire—removing the clear embossing after blending for a softer, matte finish. I’ve shared the full process over in my video if you’d like to see it in action.

Bringing It All Together Using a Sketch

I finished the card using this week’s TGIF challenge sketch, adding a floral element from the Gallery Blooms stamp set, coloured with alcohol markers. 

Watch the Video Tutorial

You can watch the full step-by-step transformation here:


From Subtle to Wow: Transforming Patterned Paper

May 14, 2026


Today I'm busy preparing for tonight's Card Making Buffet event.  Last month, I hosted my first one and it was so much fun! These events are open house style, which means no booking required - just pop by between 6pm and 9pm (9:30pm pack up).

Where: Bamboo Room, Bendigo Village Spring Gully
Cost: $16 includes 3 projects of your choice.
Make as many extras as you like at just $3 per additional project.

Card Buffet events are fabulously flexible. You choose when you arrive, the projects you want to do, how many you want to do and when you want to leave! Work at your own pace throughout the evening!

It's a really uplifting social experience - perfect for bringing along a friend or loved one!


This baby themed card is one of the 8 designs available to choose from.  The layout was inspired by this week's TGIF Challenge blog's sketch.

Love this design? Find more of my projects on
FACEBOOK  |  INSTAGRAM  |  PINTEREST  |  YOUTUBE


Supplies:
Stamps: Animal Outing
Card: Whisper White, Soft Sea Foam, Basic Gray
Paper: Frosted Florals Designer Series Paper (retired, try leafy patterns from Animal Expedition, Floral Romance or Nature's Poem instead.)Ink: Soft Suede, Crumb Cake
Accessories & Tools:  Stampin' Blends in Basic Black, Smoky Slate, and Soft Suede,  Big Shot, Animal Friends Thinlets Dies, Love Heart Die (this one is retired but try the Be Mine Stitched Dies), Rectangle Stitched Framelits Dies, Bakers Twine, Doily
Adhesives: SNAIL or double-sided tape, Stampin Dimensionals

Welcome, Card Buffet Event Tonight!

March 14, 2019


It's that time of year when crafter's everywhere start making preparations for the festive season.  Every year I swear I'm going to be more organised but it never seems to work out that way.  Maybe this will be my year?  Let's see.  In the meantime, I'm playing along with the TGIF Challenges Holiday Prep inspiration challenge with this Christmas card.

Supplies Used
Stamps: Dashing Deer
Card: Whisper White, Pear Pizzazz, Crumb Cake, Garden Green
Paper: Broadway Bound, Wood Textures 
Ink: Memento Tuxedo Black, VersaMark
Accessories & Tools: Gold Embossing Powder, Heat Tool, Detailed Deer Thinlets, Big Shot, Stitched Shapes Framelits Dies, Flourish Thinlets, Gold Thread, Metallic Ribbon Combo Pack
Adhesives: SNAIL or double sided tape, Dimensionals

Dashing Deer

September 27, 2018


The Broadway Birthday stamp set and coordinating dies are my newest favourite birthday craft staple!  Today I wanted to show my class friends these goodies.  I paired them with some recently retired supplies in my stash to demonstrate how easy it is to pick up new tools like these and put them to work with whatever you might already have on hand at home!  Couldn't make it to class in person?  Not to worry, you can now make this project along with me.  I've put together a video tutorial for you all!


The standout for this design is, of course, that bold glittering 'Wish'.  The TGIF team are showcasing glitter over at their challenge site this week.  Check out their page for lots of fun and fancy ways to add a splash of sparkle to your next project.

Supplies Used
Stamps:  Broadway Birthday
Card: Tangerine Tango*, Marina Mist*, Whisper White
Paper: Regals Collection Patterned Designer Series Paper*, Silver Glimmer Paper
Ink: Night of Navy, Pineapple Punch, Tangerine Tango*
Accessories & Tools: Broadway Lights Framelits, Layering Circle Framelits, Stitched Labels Framelits, Big Shot, Silver Thread, Classic Label Punch
Adhesives: SNAIL or double sided tape, Stampin' Dimensionals, Tear'n'Tape, Fine Tip Glue Pen

*retired items.

EXCLUSIVE ONLINE CLASSES

Join five award-winning Stampin' Up! Artisans throughout July as they bring you exclusive video-based tutorials, inspiring projects, as well as behind-the-scenes tips and tricks to bring your paper crafting to the next level!

Find more information, and subscribe to join us today at http://craftycarrotcollective.blogspot.com.au/

In Class, Broadway Birthday

July 1, 2018


Today I'm sharing a video tutorial featuring a couple of techniques!

Join me and play along as I:
  • add a little colour and sparkle to texture paste to create this fun brick wall background, and
  • create a multi-toned sentiment using Stampin' Write markers applied directly to the stamp.  For more ideas on this classic technique, head on over to the TGIF challenge page this week!

    Don't forget to subscribe to my YouTube channel to catch all my latest tutorials.  And remember to leave a comment, I'd love to know if you enjoyed the project!


Supplies Used:
Stamps:  Magical Day
Card: Whisper White, Basic Gray, Smoky Slate, Real Red
Accessories & Tools: Basic Gray and Pumpkin Pie Stampin' Write Markers, Watercolour Pencils, Blender Pen, Texture Emboss Paste, Palette Knives, Smoky Slate Ink Refill,  Dazzling Diamonds Stampin' Glitter, Pattern Party Decorative Masks, Layering Circles Framelits, Big Shot, Stitched Shapes Framelits, Heat Tool, White Embossing Powder, Pumpkin Pie Ribbon (retired)
Adhesives: SNAIL or double sided tape, Foam Adhesive Strips, Stampin' Dimensionals  

Texture Embossing Paste, How to add Colour and Sparkle

March 25, 2018


I LOVE a card-in-a-box!  These little 3D works of art pack serious WOW factor!  I've been lucky enough to witness a recipient or two open up their envelope and be a bit perplexed by the flat, odd looking card inside - and then the look on their face, the pure awe, when they open it up and see it all set up, is just wonderful.


I was inspired to share this design featuring the Crafting Forever stamp set, by the current TGIF 'card -in-a-box' challenge.  Pop over to their post *HERE* for this one guys - seriously, so much amazing inspiration!


This particular project was a special one I made exclusively for the Crafty Carrot Collective program.  My fellow teammates have given me special permission to share this exclusive tutorial with you - which is a super treat indeed as our Carrot classes are strictly for our very special customers only!  Learn more *HERE*.


Supplies
Stamps: Crafting Forever, Jar of Love
Card: Whisper White, Soft Sky, Crumb Cake, Naturally Eclectic Designer Series Patterned Paper
Ink: StazOn Black, Smoky Slate, Real Red, Tranquil Tide, Crumb Cake,
Pumpkin Pie, Basic Black, Early Espresso
Accessories: Blender Pen, Everyday Jars Framelit Dies, Stitched Shape Framelit Dies, Big Shot
Adhesives: Double sided tape, Tear n Tape adhesive

Need to stock up on essentials, or have some product still on your wishlist?  Now is definitely the time to place an order!  If you are in Australia, shop at my online store *HERE*.  Use the host code: SM9DMSJ3 and get FREE access to the Crafty Carrot online class program throughout March!

For those of you who already have a demonstrator, are a demonstrator or who live somewhere else in the world, you don't have to miss out on the fun!!  SUBSCRIBE TODAY


Written measurements referenced in the video for you all:

BOX BASE
INSERT STRIPS

[VIDEO] Crafting Forever, Card in a Box

January 31, 2018

Coffee Cafe, Tabs for Everything, Bella & Friends, Stampin' Up!, Papercraft by Jennifer Frost, Cake Container, TGIFc#122, Global Design Project #102

I saw this little dome in the Coffee Cafe set and it made me think of a cake container.  I couldn't resist having a play to see if I could get the idea to work.  Of course, a cake container is no good without a little cake.  This cupcake from the Bella and Friends set was the perfect fit.

Coffee Cafe, Tabs for Everything, Bella & Friends, Stampin' Up!, Papercraft by Jennifer Frost, Cake Container, TGIFc#122, Global Design Project #102

The layout for this design was inspired by this week's Global Design Project sketch challenge.  The colouring of the cupcakes and the watercolour wash in the background were inspired by the TGIF Watercolor theme.


Coffee Cafe, Tabs for Everything, Bella & Friends, Stampin' Up!, Papercraft by Jennifer Frost, Cake Container, TGIFc#122, Global Design Project #102

Supplies Used:
Stamps: Coffee Cafe, Tabs for Everything, Bella & Friends
Inks: Pool Party, Bermuda Bay, Smoky Slate, Powder Pink, Flirty Flamingo
Papers: Whisper White, Shimmery White, Pool Party or Powder Pink
Accessories/Tools: Washi Tape (retired), Pool Party Bakers Twine (retired), Aqua Painter, Blender Pen, Pearls

Coffee Cafe Cake Container

August 31, 2017

Pieces & Patterns, Diagonal Stripe, Dinosaur, Stampin' Up!, Papercraft by Jennifer Frost, Customer rewards program, The Crafty Carrot Collective, Global Design Project, TGIF Challenge

I'm excitedly preparing for my local 'new catalogue launch party' event coming up this Saturday.  As part of this event, my co-hosts and I are putting together some displays.  I'm creating a party themed display featuring, you guessed it, the brand new Pieces & Patterns stamp set.

Pieces & Patterns, Diagonal Stripe, Dinosaur, Stampin' Up!, Papercraft by Jennifer Frost, Customer rewards program, The Crafty Carrot Collective, Global Design Project, TGIF Challenge

The layout for this card was inspired by the current Global Design Project challenge.  It also happens to be a perfect fit for the TGIF Challenge "Let's here it for the boys" theme this week.

Pieces & Patterns, Diagonal Stripe, Dinosaur, Stampin' Up!, Papercraft by Jennifer Frost, Customer rewards program, The Crafty Carrot Collective, Global Design Project, TGIF Challenge

For those of you who follow my blog, you may have spotted that this project matches the party favour tags I shared last week as part of the Crafty Carrot Co July teaser blog hop.

I've got a few more projects in the works for this collection.  Can't wait to show you those soon!  In the meantime, check out this new video by the Crafty Carrot Collective!  It's a sneak peek looking behind the scenes of this month’s blog hop!

Supplies Used:
Stamps: Pieces & Patterns, Confetti Celebration, Better Together, Diagonal Stripe
Inks: Pool Party, Lemon Lime Twist, Memento Black, Daffodil Delight, Real Red,
Papers: Whisper White, Pool Party, Lemon Lime Twist, Sahara Sand, Basic Black
Accessories/Tools: 1 3/4" Circle Punch

Pieces & Patterns, Greeting Card

June 21, 2017

Cake Crazy, Kate Spade Style, Jar of Love, Papercraft by Jennifer Frost, Stampin' Up!, TGIF Challenge

Dear TGIF challenge blog team,

Wishing you a very Happy 2nd Birthday!
Thank you so much for inviting me to your party.
Once upon a time, it was such a privilege to serve on your team of talented (and super lovely) designers.  And even though life got too busy to keep up with the design team commitment, I still just love following your journey and playing along where I can.  Your challenges inspire my cardmaking and continue to provide creative motivation to this day!

So Happy Birthday!!  Wishing you much success and love, Jenn xx

Cake Crazy, Kate Spade Style, Jar of Love, Papercraft by Jennifer Frost, Stampin' Up!, TGIF Challenge

Now a little about my card.  I have a super clever cake decorating friend who asked me to make her some Kate Spade themed birthday invitations last year.

Bespoke Handcrafted Birthday Invitation, Papercraft by Jennifer Frost, Stampin' Up!, Kate Spade Inspired, Picture Perfect

When I looked at the Cake Crazy stamp set, I thought about her and her gorgeous cake creations.  So I was inspired to make a Cake Crazy card, Kate Spade style.

Cake Crazy, Kate Spade Style, Jar of Love, Papercraft by Jennifer Frost, Stampin' Up!, TGIF Challenge

Supplies Used:
Stamps: Cake Crazy, Jar of Love
Inks: VersaMark, Memento Black, Flirty Flamingo
Papers: Whisper White, In Colour Designer Series Paper pattern, Basic Black
Accessories/Tools: White and gold embossing powders, Heat Tool, Everyday Jars Framelit Dies, 1 1/4 Circle punch, Gold thread


Want to see more of this fun set?  Why not pick up the exclusive Cake Crazy Tutorial Bundle?

Each Crafty Carrot Co bundle includes five easy to follow tutorials presented in both written and video format. So easy to follow!  And with a design team made up solely of Artisan award winners, you know the projects are bound to be inspirational!

Cake Crazy Celebration for the TGIF Challenge

April 28, 2017

Blog Archive