Creating Textured Backgrounds with Scrap Strips
For this challenge I was inspired by a project I’d seen in a catalogue that used three wide strips of patterned paper across the background to add both colour and texture. The sample used tone-on-tone papers with a softly watercoloured potted plant as the focal point.
Using Patterned Paper as a Background Element
I loved the idea of using patterned paper as a textured background element, so I decided to test the concept using pieces from my scrap stash.

A Simple Trick for Short Scrap Pieces
Of course, when you're working with scraps, the pieces you have aren’t always the right size. As I began laying out my background strips, I realised several of the papers I wanted to use were just a little too short.
That led to a small discovery.

Making Scraps Look Like Full-Length Panels
By trimming the strips strategically and positioning them so the ends disappeared behind the focal panel, I was able to create the illusion of longer pieces of patterned paper. It’s a simple trick, but it makes those awkward scraps much more usable.

Adding Colour with Watercolour Pencils
When it came time to film the video for this challenge, I decided to experiment with a variation of the idea. I reached for some purple-toned papers from my scrap pile after noticing I had a watercolour pencil in a similar shade that I hadn’t used much before.

One of the patterned papers included a beautiful multi-coloured floral design, which became the starting point for the colour palette. I pulled several of those colours into the focal image, building up the petals in soft layers using watercolour pencils. The gradual layering created a gentle depth that paired beautifully with the textured background.
Watch the Full Tutorial
Want to see the full process?
In the video for Use Your Stash – Challenge #4, I share the full process for:
• turning scrap strips into a textured background
• the simple trick for making short scraps look like longer panels
• layering colour with watercolour pencils to build a soft floral focal point
A Second Card Variation
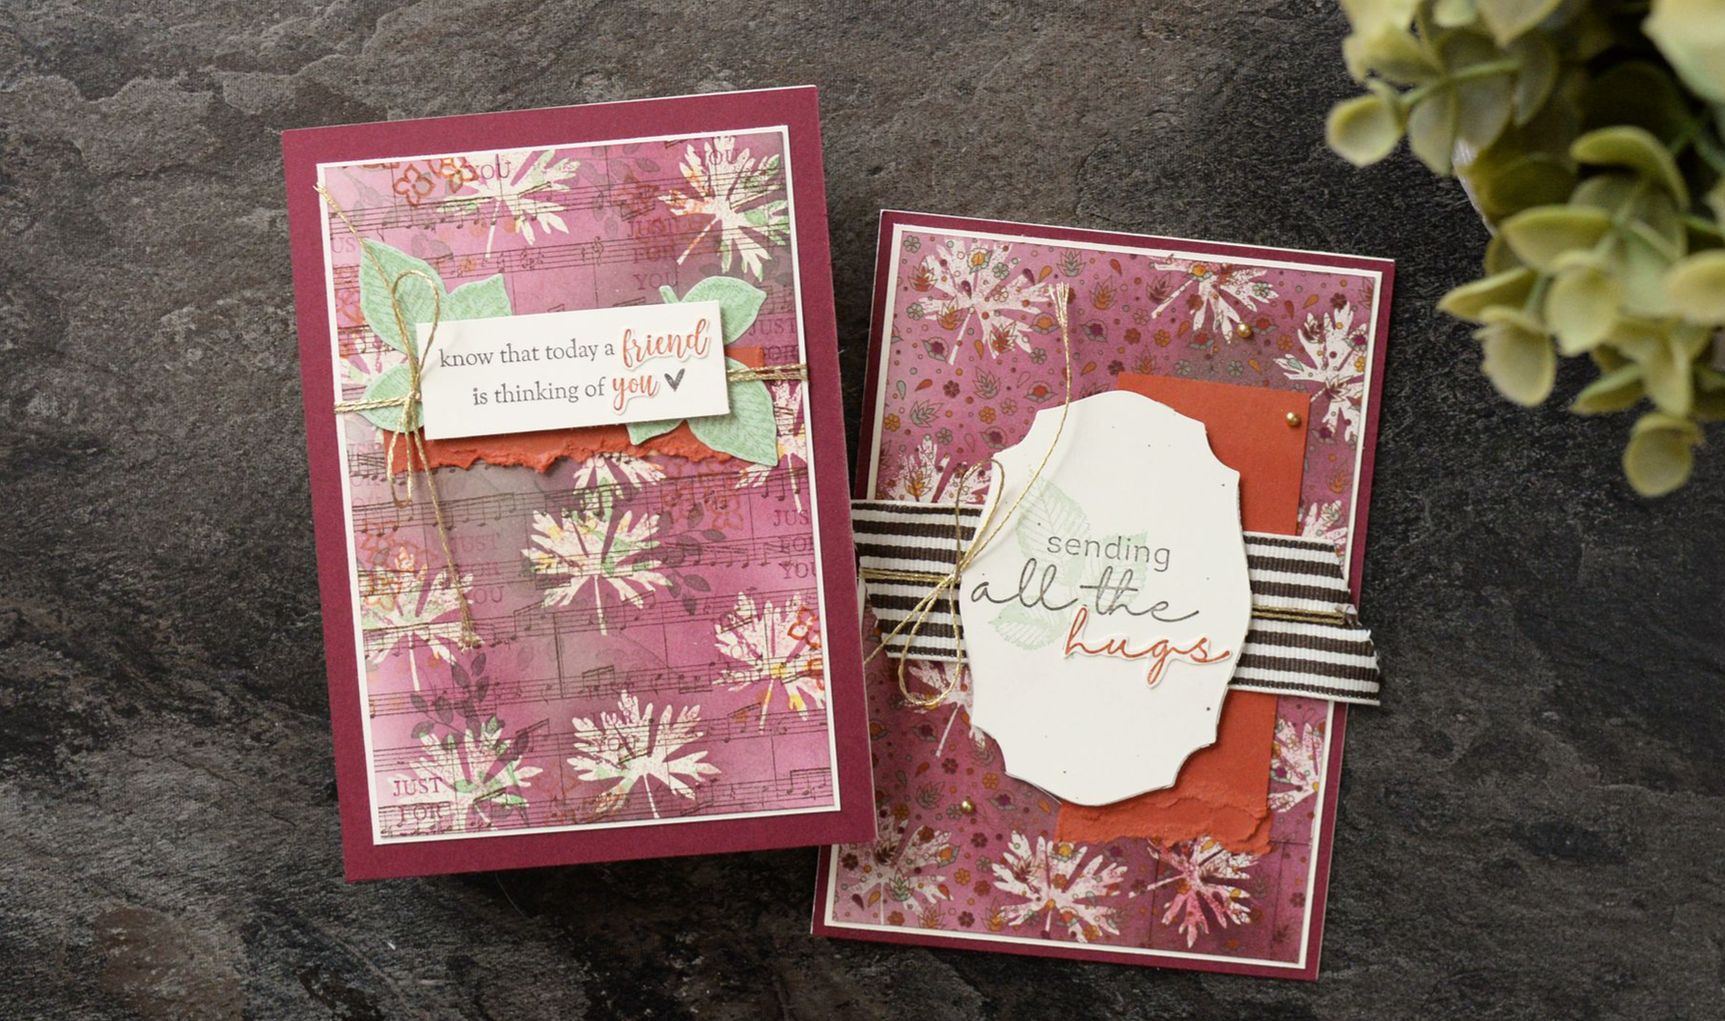
Below is the pink variation I mentioned in the video.

Creative Adjustments and Finishing Touches
The blue circle I shared that I had originally planned to use for the sentiment didn’t quite work the way I’d hoped, but it led to a happy little adjustment. I cut out the word “friend” and paired it with the “hello” in black on white that I had set aside from the purple version, creating a fun multi-coloured sentiment that worked beautifully with the brighter palette.

More Cardmaking Ideas Using Scraps
Next week’s challenge features the DIY patterned paper made from scraps that I experimented with earlier this week. It turned into a really fun way to use those tiny leftover pieces — you can catch the preview HERE.